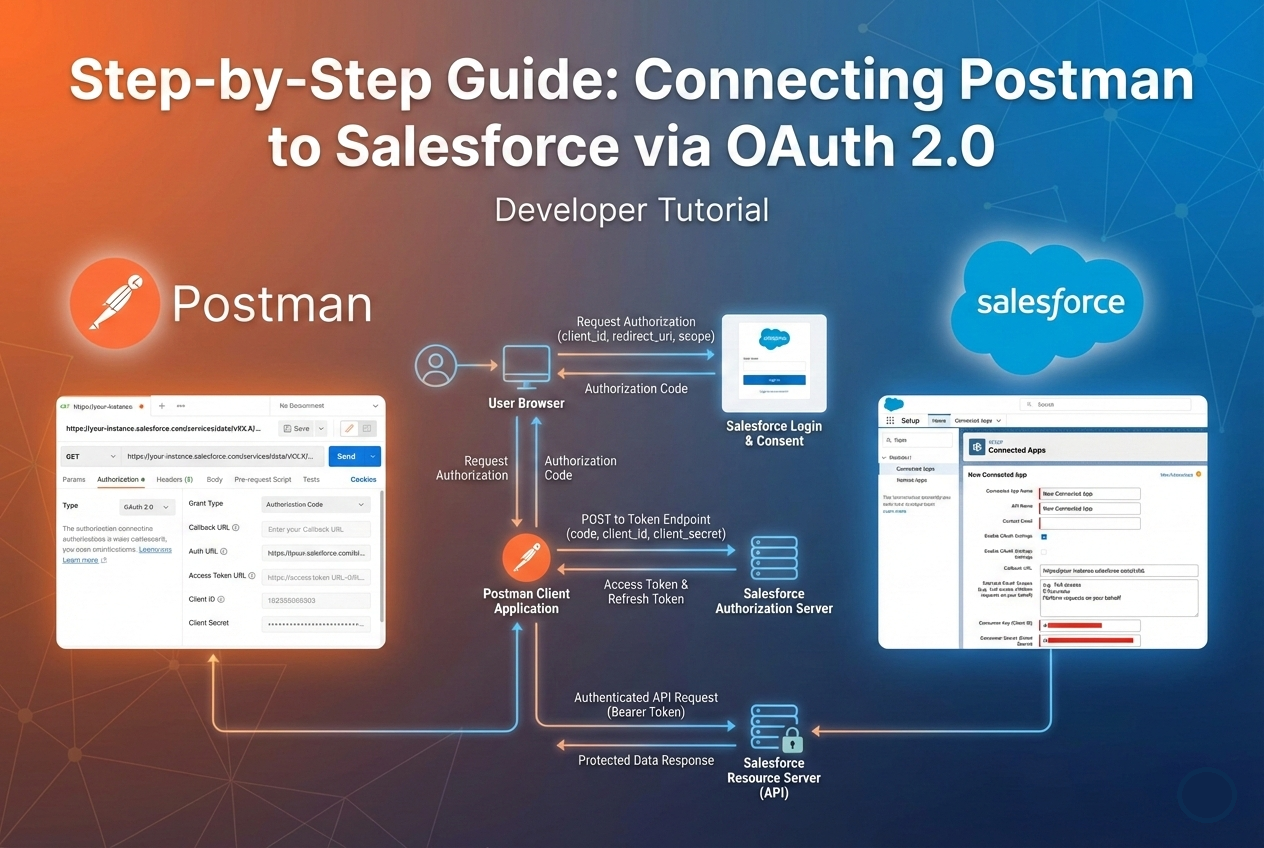
If you work with Salesforce APIs, you know that testing endpoints can sometimes be the hardest part of the job—not because the logic is complex, but because authentication can be a headache. Hardcoding passwords is a security risk, and session IDs expire too quickly. The solution? OAuth 2.0 with Postman.
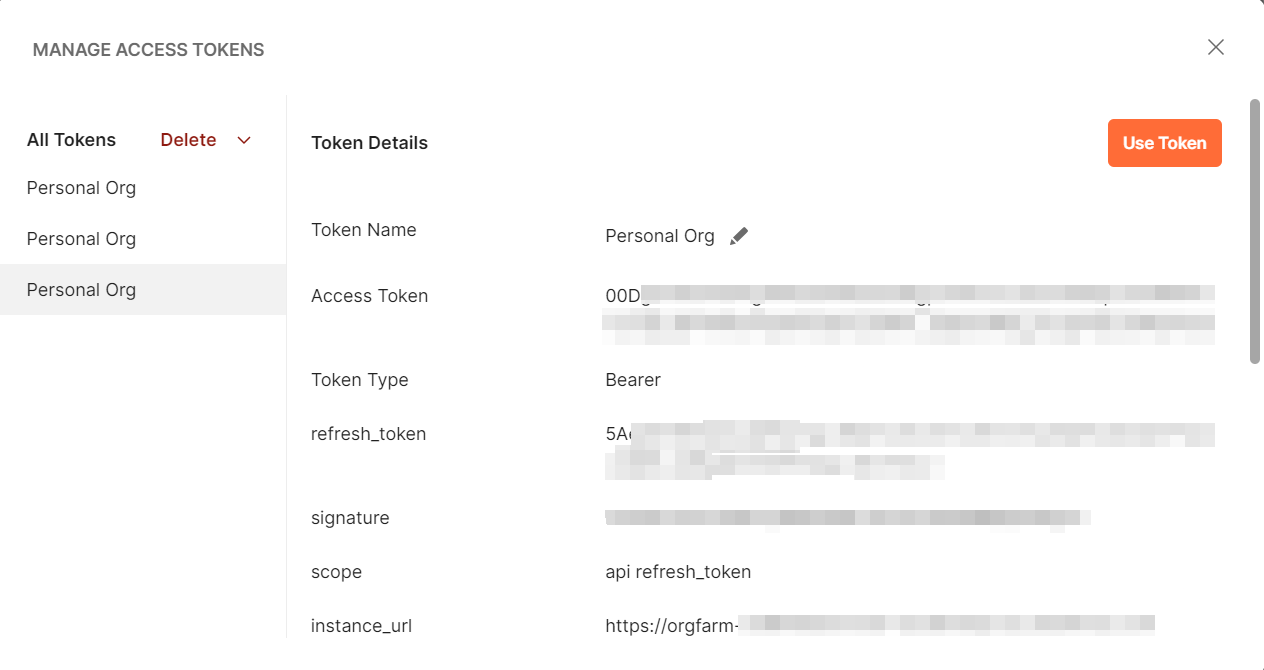
In this guide, I will walk you through the exact steps to bridge your Salesforce Org with Postman by setting up a External client App in Salesforce and configuring Postman correctly, you can generate an Access Token (for immediate API calls) and a Refresh Token (to stay connected indefinitely without re-logging in).
🛠 Prerequisites
- A Salesforce Account (Developer Edition or Sandbox recommended).
- Postman installed on your machine.
- Basic understanding of REST APIs.
1) Create a Connected App (New External Client App) in Salesforce
This acts as the "doorway" for Postman to enter Salesforce.
-
Log in to Salesforce Setup (gear icon → Setup).
-
In Quick Find, search for App Manager.
-
Click New External Client App (top-right).
-
Fill in:
-
External Client App Name
-
API Name
-
Contact Email
-
-
Check Enable OAuth Settings.
- Set Callback URL (Use the standard Postman callback)
https://oauth.pstmn.io/v1/callback
- In Selected OAuth Scopes, add:
-
Access and manage your data (api)
-
Perform requests on your behalf at any time (refresh_token, offline_access)
-
These scopes let your app call Salesforce APIs and get a refresh token.
-
Save the external client app and wait ~10 minutes for it to fully propagate.
-
Once saved, open the app’s detail page.
-
Get SF_CLIENT_ID and SF_CLIENT_SECRET
On your external client app’s detail screen:
-
Consumer Key → this is your SF_CLIENT_ID
-
Consumer Secret → this is your SF_CLIENT_SECRET
Salesforce labels them Consumer Key and Consumer Secret respectively.
2) Setup Postman Settings
-
In Postman, create a new http request.
-
Go to the Authorization tab.
-
Make sure no collection is selected in collections tab.
If you run OAuth from within a collection that has its own Auth settings:
- Postman may reuse or override tokens.