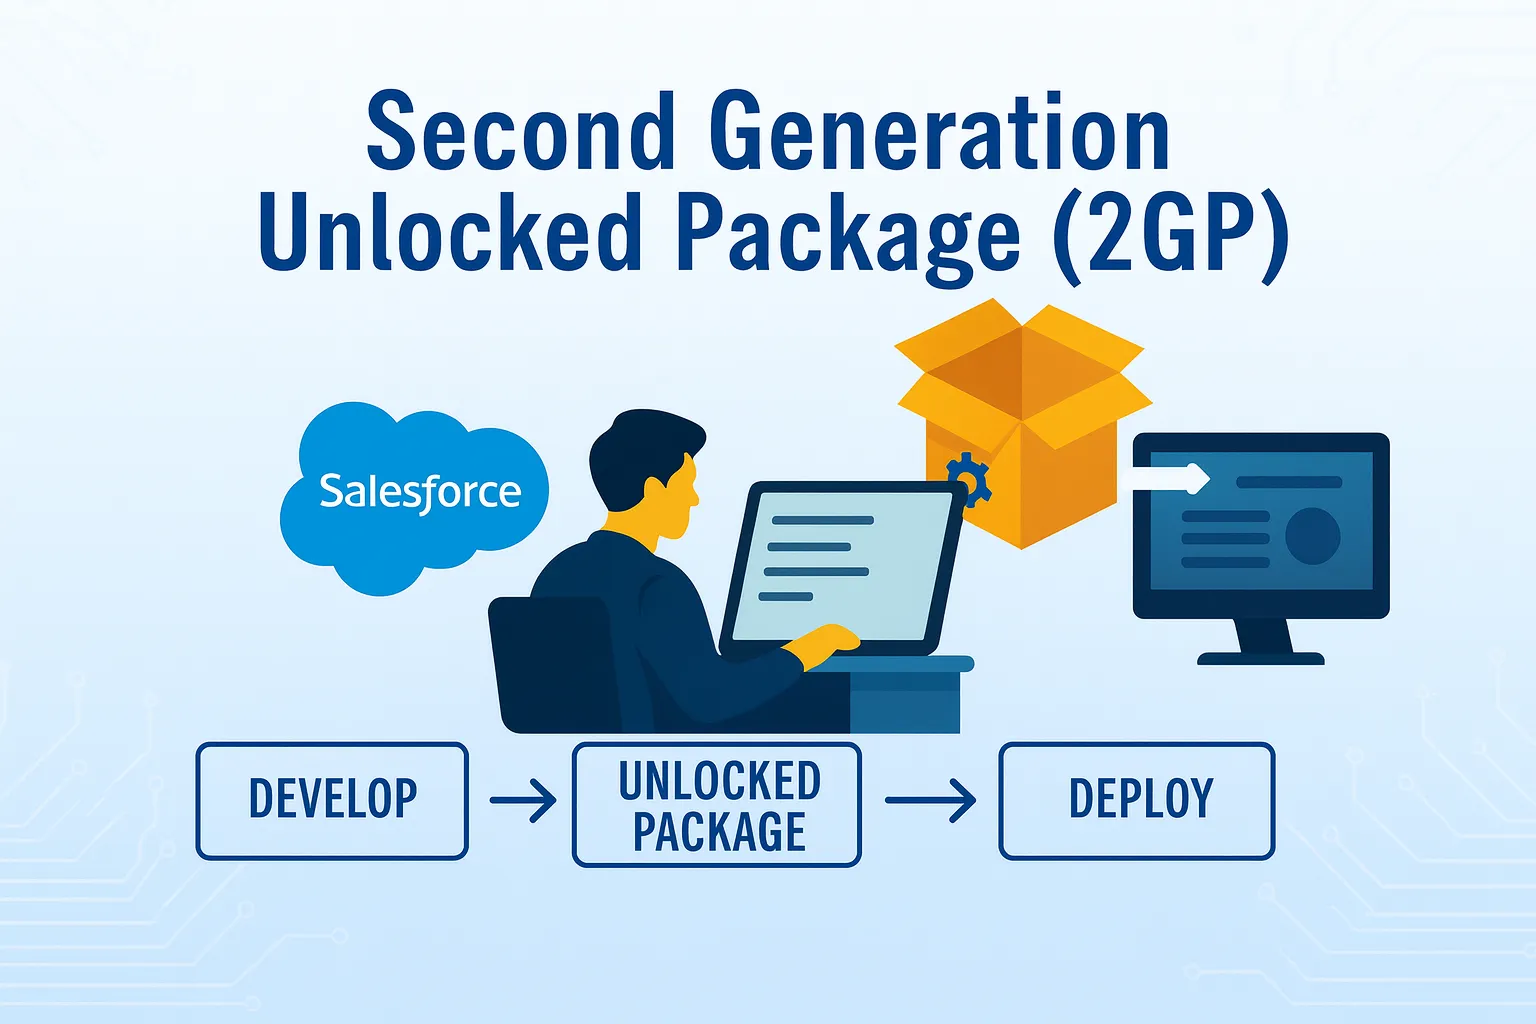
What Is an Unlocked Package?
An Unlocked Package is a collection of related features, customizations, and schema bundled together. It allows you to add, edit, or remove metadata in your org in a trackable and controlled way.
Unlocked packages are particularly well-suited for internal business applications, where flexibility and version control are important. Unlike managed packages, they give you more freedom to modify and adapt metadata directly within your environment.
Why Choose Unlocked Packages?
The biggest advantage of unlocked packages is flexibility. Your admins can make changes directly in production, even in response to urgent change requests. Since metadata in unlocked packages can be edited in a production org, you’re not locked into a rigid deployment model.
The Lifecycle of an Unlocked Package
Each unlocked package follows its own lifecycle. Whenever you add new metadata to an existing package, Salesforce creates a new package version.
Think of each version as a snapshot in time — it contains the exact metadata and features that existed when the version was created. While your package continues to evolve, each version remains immutable and never changes.
Over time, as you refine your app and make adjustments, you’ll create multiple package versions — each representing a milestone in your development journey.
Installing and Using Package Versions
You can install a package version in various org types, including scratch, sandbox, trial, Developer Edition, and even production orgs.
Installing a package version works much like deploying metadata. Each version has its own version number, allowing subscribers to upgrade to newer versions easily and keep their environments up to date.
Before you create Unlocked Package
Enable Dev Hub in an org:
- Log in as System Administrator to your production, Developer Edition, or trial org.
- From Setup, enter Dev Hub in the Quick Find box and select Dev Hub.
- If you don't see Dev Hub in the Setup menu, make sure that your org is one of the supported editions.
- To enable Dev Hub, click Enable.
After you enable Dev Hub, you can’t disable it.
Note: Unlocked packaging is available with these licenses: Salesforce or Salesforce Limited Access - Free (partners only).
Note: You can’t enable Dev Hub in a sandbox.
Enable Unlocked Package
- After enable Dev Hub.
- Select Enable Unlocked Packages and Second-Generation Managed Packages. After you enable this setting, you can’t disable it.
Orgs that we need
Dev Hub Org:
- When you're building unlocked packages with the Salesforce CLI, you need to connect them to a Dev Hub org. Think of the Dev Hub as the "home base" for your packages—it keeps track of everything.
- If you're creating a package that will be used in production, make sure to use a Dev Hub that's in a production org. That way, your package is tied to a stable environment.
- Here’s why the Dev Hub is important:
- It owns all the unlocked packages you create.
- It lets you link namespaces if you're building namespaced packages.
- You use it to run all your sf package commands.
- Important: If your Dev Hub is in a scratch or trial org and that org expires, you won’t be able to update or reinstall your package. That’s why it’s best to use a production-level Dev Hub for anything long-term.
Namespace Org:
- When working with namespaces in Salesforce packaging, it’s essential to first create a dedicated org specifically to define your package’s namespace. This environment is commonly referred to as the namespace org.
- If your intention is to use the namespace exclusively for testing purposes, consider creating a disposable namespace—a temporary setup that can be discarded after use.
- Once the namespace org is created and the namespace is registered, the next step is to link the namespace org to your Dev Hub. This connection enables the Dev Hub to recognize and work with the namespace during package development and deployment workflows.
Other Org:
Where you install the package.
Prepare to Build a Second-Generation Unlocked Package
- Go to setup and Enable dev hub in developer edition org.
- Also Enable Unlocked Packages and Second-Generation Managed Packages.
- Search for Name - Namespace Registries. (Namespace org must be different which will be linked with developer edition org).
- Now Click on 9 dots and Search for Namespace Registries and Click on button - Link Namescpace.
- Enter the username and password and Allow.
- Copy the Namespace Prefix value (Later we will use this in vs code sfdx-project.json file).
- Clone the git repo and open project in vs code.
- Authorize vs code project with dev hub org.
sf org login web --set-default-dev-hub --alias dev-hub
- Open the sfdx-project.json file.
- Add package name as value in namespace property in sfdx-project.json file.
- Create the package:
sf package create --name "Test Unlock V1" --path force-app --package-type Unlocked
- After this command you will see package is created with FirstPackage name inside sfdx-project.json file.
- Create package version for visible to install in other org:
sf package version create --package "Test Unlock V1" --installation-key test1234 --wait 10
OR (Without package key)
sf package version create --package "Test Unlock V1" --installation-key-bypass --wait 10
- Copy the package installation url from vs code terminal.
- Past the url in browser and Login that in org where you will be install the package. Enter the username and password and login. Select Card and Check mark then install & Click on Done Check your package.
Package versions are beta until you promote them to a managed-released state.
Output:
